Easy-to-make graduation leis, part 2
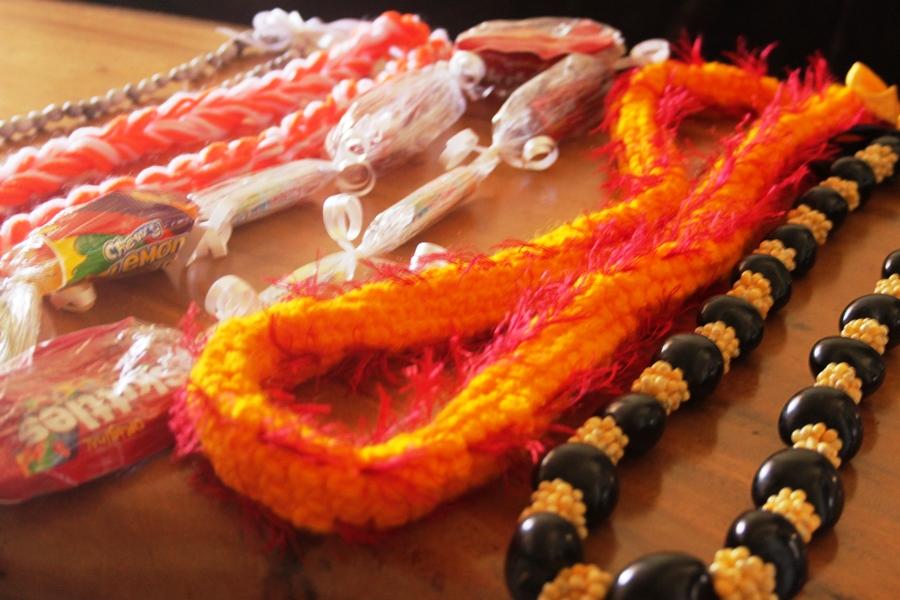
Photo by Daisy Draper
In this article, we show you how to make two of the lei pictured here: the candy lei, and the two-straw yarn lei.
Two years ago, we ran a story entitled “5 Easy-to-Make Graduation Leis.” It turned out to be our most popular article ever, still showing up in our top 20 titles every week since. So, with graduation just days away, we’re back with more.
Here are more easy-to-make lei.
Affordable Candy Leis
After watching our first lei-making video, which called for a lei-making kit, many of you asked what to do if kits aren’t available in your area. Here is the non-kit version of the candy lei.
The materials needed for making this lei are plastic wrap, candy and ribbon.
- Start by rolling out a big piece of plastic wrap. You want to unroll at least a yard of saran wrap.
- Place the candy in a line about an inch apart from each other down the middle of the plastic wrap.
- If the candy is large, like whole Snickers bars, just put one piece, but if it is small, like Sixlets or single peppermints, put two or three. You do not want the lei to be too bulky.
- Next take half the wrap and fold it over the candy.
- Keep folding it over until the candy is wrapped in a long tube of plastic wrap.
- Pinch the space between each candy. This helps keep the candy together.
- Cut ribbon strips that are six to eight inches long.
- Tie the pieces of ribbon between each cluster of candy.
- Use one piece of ribbon to tie together the two ends of the wrap tube together to make the lei.
- The final step is to curl the ribbon.
Ti Leaf Lei
Materials: Ti leaf, iron, fixed object
- The first step is to pick 6-10 ti leaves.
- Cut out the midrib, creating two strips. It is important to cut as close to the midrib as possible so that the leaf remains wide.
- Next, iron the leaves. This softens the ti leaf and makes it feel silky.
- Take a strip and hook it around something that is motionless, like a chair leg. Or you could hook it around your toe if you’re flexible.
- Adjust the leaf around the fixed object so both sides are even in length.
- At the same time, twist both sides to the right so the leaf becomes more compressed.
- Then, cross the right side over the left.
- Continue to do this, always crossing the right over the left.
- Add another leaf so that it overlaps the leaf you’re using by about two inches.
- Twist, and cotinue the pattern of crossing the right over the left, adding leaves as you go.
- When you have finished, tie a double knot at the end, place the knot through the loop, and tie off.
How to make a money lei
Materials: 100 $1 bills (make change at a bank), about 5 ½ feet of balloon ribbon, scissors, invisible tape, 3 clear straws, plastic Ziploc bag
- First, take one of the straws and cut it into smaller ¼ inch thick pieces. Place them into the Ziploc bag.
- Second, fold the dollar bills horizontally to make a crease that divides the dollar equally on both sides.
- Open it up and, starting at one of the short ends of the bill, fold the bill back and forth to create fan pleats. Do this to both sides and you’ll notice the dollar will resemble an accordion.
- Pinch the pleats together in the center and fold it in half to crease it in the center. It will look a bit like a bow-tie.
- Now, take your length of ribbon and double it up, creasing it in the center.
- To start the money lei tie a double knot at the center of your ribbon about an inch or two away from the crease. This will create a small loop with two free-dangling pieces of ribbon.
- Place one already folded dollar bill in between the two dangling ribbon strands right after the knot.
- With the two loos stands, make a new double knot just below the dollar.
- Then, fan out the pleats of the dollar bill a little to form a circle.
- Use the invisible tape to attach the ends of each side of the bow-tie (dollar bill) to form a circle.
- Before you add another folded dollar bill, use a piece of the straw you cut at the beginning to make a space between each dollar bill. Slide both of the ribbon strands through the straw piece.
- Continue to add dollar bills by repeating the steps.
- At the end, tie the lei together by pushing the loose strands through the loop at the beginning of your lei and tying it off.
- You may add a nice bow or ribbon. Cut any excess ribbon that hangs.
How to make a paper flower lei
Materials: 3 colorful straws, single hole punch, package of colored paper, 2 ½ – 3 feet of string, scissors
- First, cut the straws into 1 inch pieces. These will be used to separate the flowers from each other.
- Second, cut out basic flower shapes from the colored paper. They do not have to be perfect and exact.
- For the youngest lei makers, plain paper flowers are fine, but older children might want to decorate the flowers with drawings, special messages, hand prints, cut-out photos, or signatures (have everyone in the class sign one flower, for instance).
- Use your hole punch to cut holes out of the centers of the flowers. If your punch doesn’t fit, gently fold the flowers in half to cut small holes in the middle for the string to pass through. Important: Make sure that the diameter of your hole is smaller than the diameter of the straw or the straws will pass right through the flowers rather than act as separators.
- Secure one end of the string so that the flowers and straws don’t fall off as you go. You can tie it to a chair leg or something more portable like a balloon weight.
- String together a paper flower, then a piece of straw, then a flower, then a straw. Continue until you get the length you need. Leave enough string to tie off.
- Cut the remaining string, and tie the both ends of the lei together. This will complete your basic paper flower lei that is suitable for children to make.
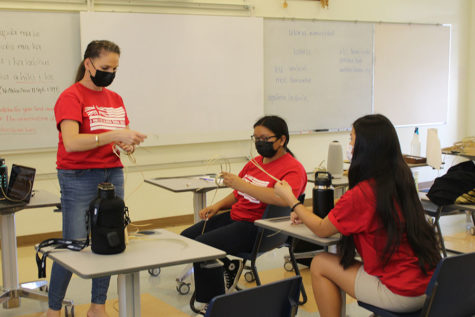
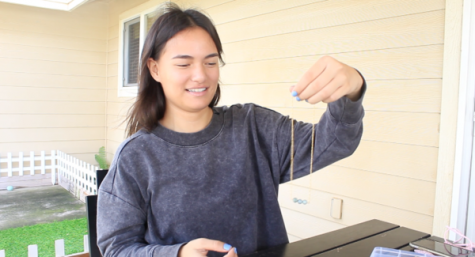
How to make a two-straw yarn lei
Watch the video accompanying this article to learn to make a simple two-straw yarn lei. Our own Mrs. Kalena Laepaʻa demonstrates.